
Last updated November 2, 2026
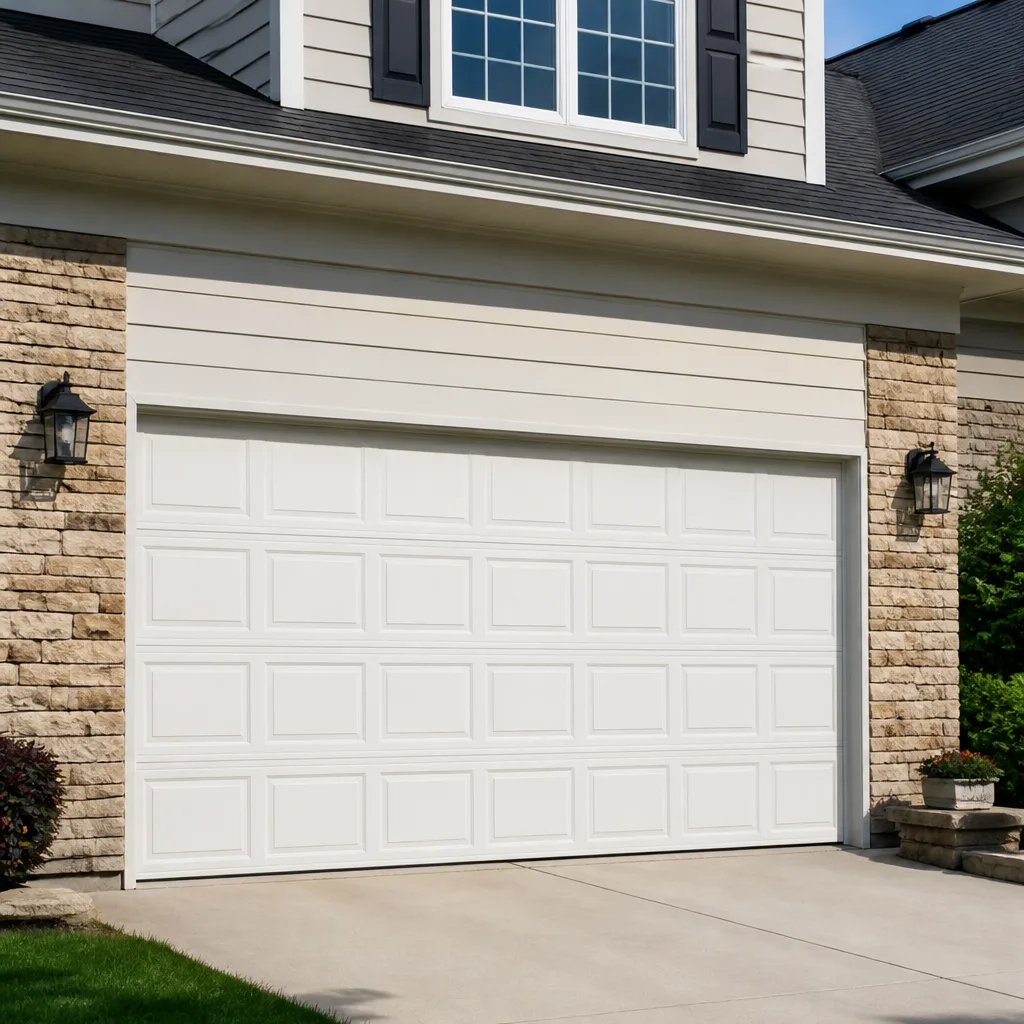 Raised-panel steel
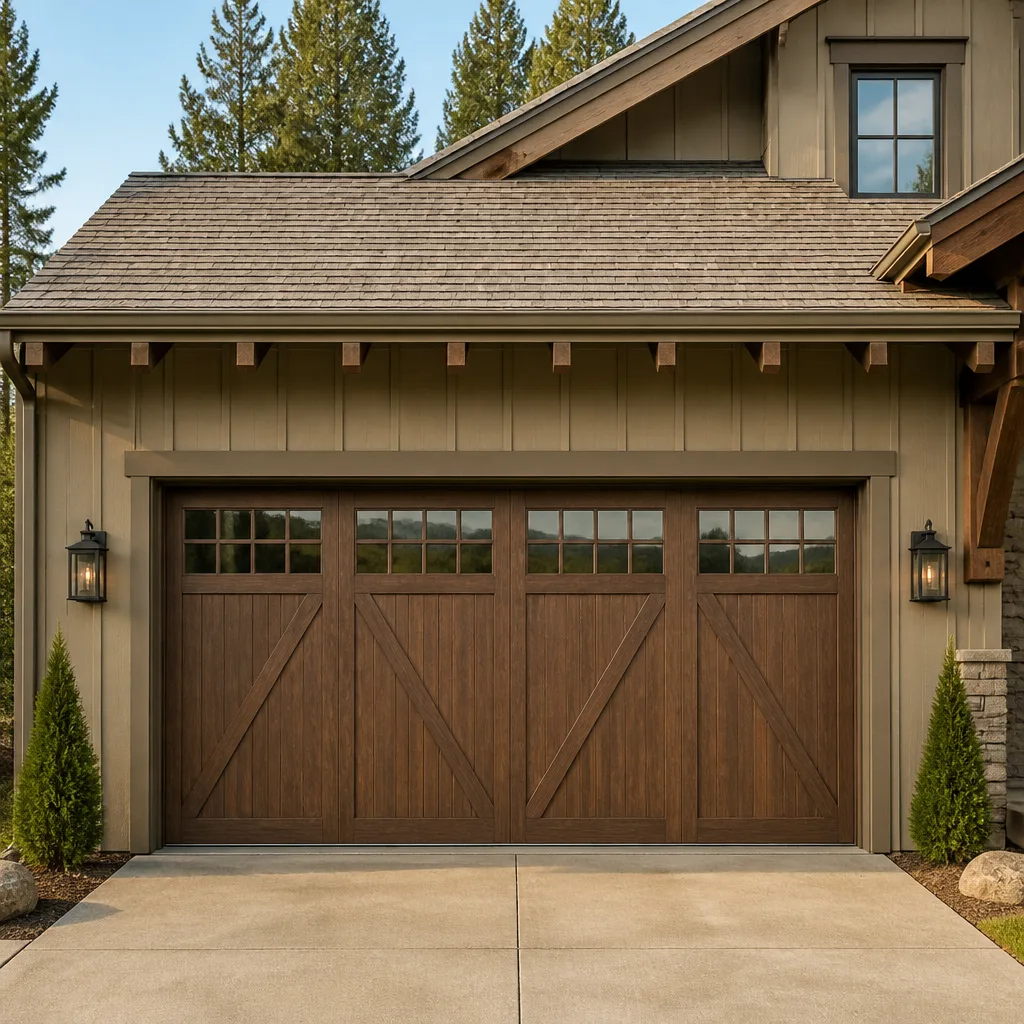 Carriage house
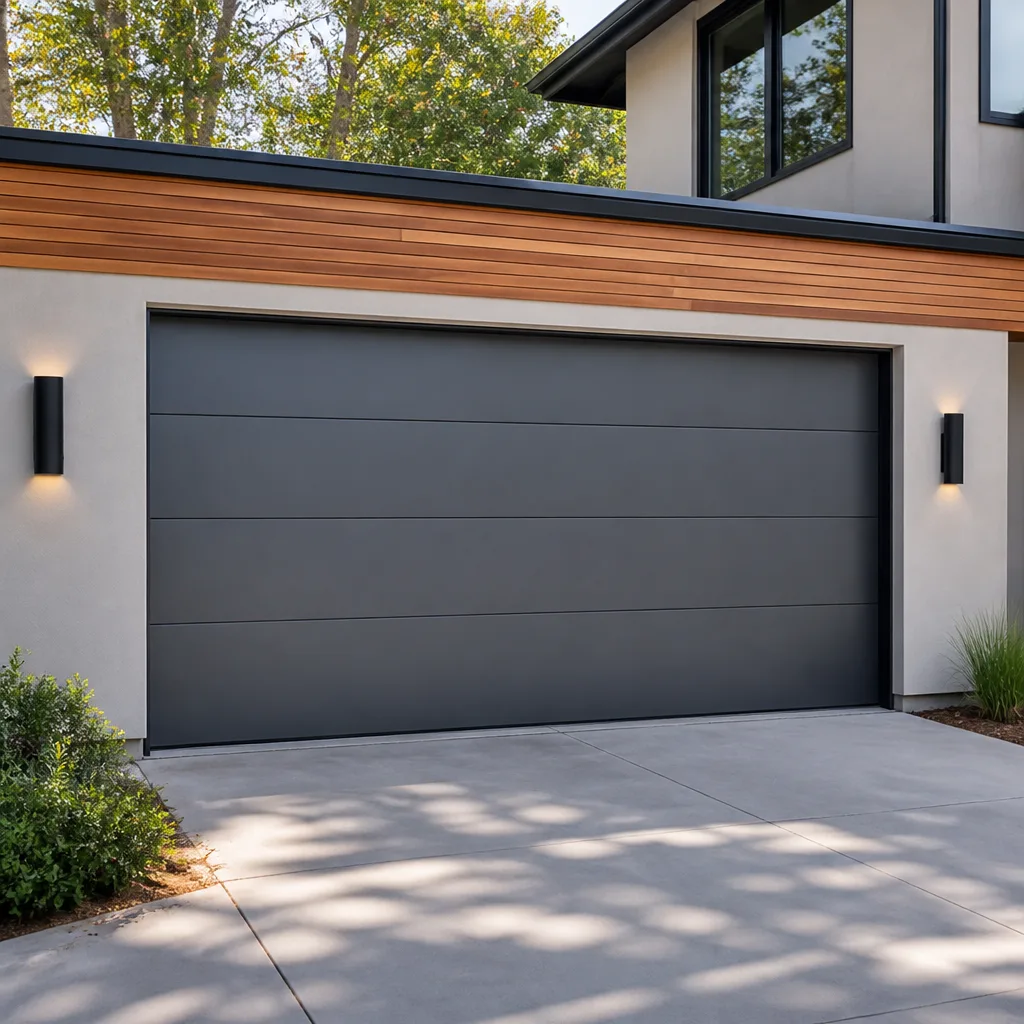 Modern flush
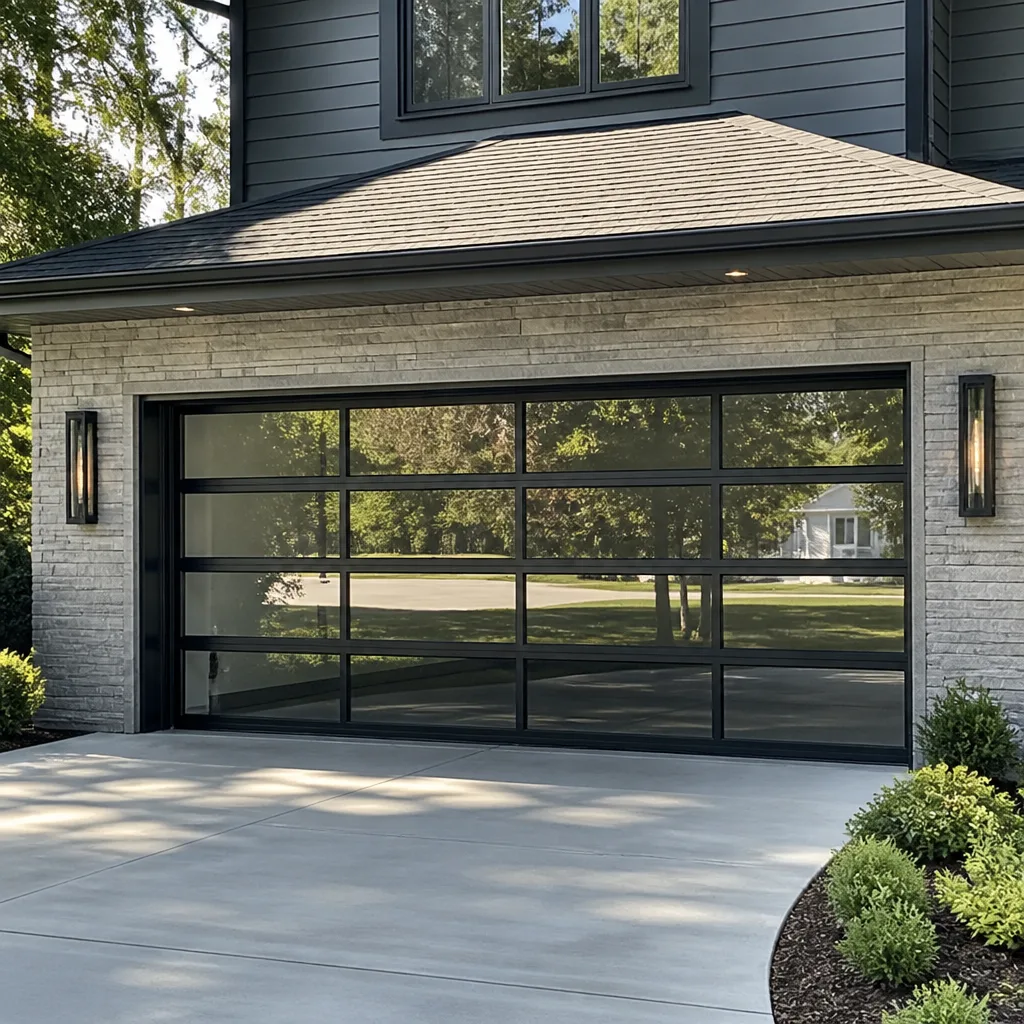 Full-view glass
 LiftMaster openers
 Chamberlain openers
Full 25-point door and opener safety check with every visit - springs, cables, rollers, tracks, and your LiftMaster or Chamberlain opener included
You get a price before we start. It does not change when the truck arrives.
Get your free estimateGarage Door Repair Maintenance Checklist for Lake Forest Homeowners
Here’s a number that catches Lake Forest homeowners off guard: a garage door rated for 10,000 cycles will hit that limit in just under 7 years if you open and close it four times a day. Most doors in Orange County reach that number faster than the national average because we use our garages as primary entrances. This guide walks you through the maintenance tasks that actually matter in Lake Forest’s specific conditions, which ones you can handle safely yourself, and which ones are worth paying a professional to do right.
Quick Answer
A practical garage door maintenance checklist for Lake Forest homeowners includes monthly track and hardware inspections, quarterly lubrication with a lithium-based spray (not WD-40), twice-yearly weather seal checks that account for our UV exposure, and annual professional inspection of springs and cables before Santa Ana wind season starts. The tasks most likely to be skipped at home are the ones that cost the most when they fail: spring tension checks and track alignment.
Styles & brands we work with
- Raised-panel steel
- Carriage house
- Modern flush
- Full-view glass
- LiftMaster openers
- Chamberlain openers
Table of Contents
- Lake Forest Seasonal Maintenance Calendar
- Santa Ana Winds and Your Garage Door Track
- UV Damage to Seals and Weather Stripping
- Lubrication in High Heat: What Works, What Doesn’t
- Homeowner vs. Professional: A Task-by-Task Breakdown
- How to Document Your Door’s Condition with Photos
- Common Mistakes to Avoid
- When to Call a Professional
- Frequently Asked Questions
Lake Forest Seasonal Maintenance Calendar
Most online garage door checklists were written for Minnesota winters. If you’re in Lake Forest, the things most likely to fail on your door aren’t the things those lists prioritize. We don’t deal with frozen tracks or ice-damaged panels. What we do deal with is October through March: the Santa Ana wind season, which pushes fine dust and grit into every moving component. Then there’s July through September, when direct sun on a west-facing garage door can push surface temperatures past 140 degrees and cook the grease right out of your rollers.
Here’s a seasonal calendar built around Lake Forest’s actual weather patterns. This isn’t the generic “inspect monthly” list you’ll find elsewhere. It’s sequenced around when doors in this specific area actually fail.
Monthly Tasks (10 minutes or less)
- Open and close the door once, listening for any sound that wasn’t there last month. Grinding, squeaking, or a chattering sound are all early warnings.
- Walk across the garage and visually scan the horizontal tracks on both sides. Look for visible gaps between the track and the wall brackets.
- Check that the door reverses when it hits a 2×4 laid flat on the ground. This is your safety reversal, and it’s the single most important test you can do.
- Glance at the cables on either side. You’re looking for fraying or rust, not doing anything to them.
September (Before Santa Ana Season)
- Have springs inspected by a technician. In Lake Forest, spring failures cluster in October and November after the first hot-dry wind events. An inspection now costs far less than a spring replacement on a Saturday morning.
- Tighten every visible track bolt and bracket screw. More on this in the Santa Ana section below.
- Lubricate hinges, rollers, and springs (the full method is covered in our Lake Forest garage door repair guide).
March (End of Rain Season)
- Inspect the bottom seal for cracking that may have developed over the winter. Lake Forest gets relatively little rain, but when it comes, it’s often concentrated in a few storms. A seal that worked fine all summer can let water in during a February downpour.
- Check the door balance. Disconnect the opener (usually a red cord hanging from the rail) and manually lift the door to waist height. It should stay in place. If it drops, your springs are losing tension and the opener is working harder than it should.
- Look at the weather stripping on the sides and top of the door frame. This is often the most UV-damaged component after a full year in Southern California sun.
June (Before Peak Heat)
- Re-lubricate anything that’s dried out. The heat will only accelerate whatever wear the dry rollers are causing.
- Test your garage door opener’s force settings. With the door open, press the wall button to close it. Grab the bottom of the door as it’s closing. It should reverse with moderate resistance. If it keeps pushing, the force setting is too high. This is a dangerous condition that wears out rollers, hinges, and the opener itself.
Santa Ana Winds and Your Garage Door Track
Santa Ana winds don’t just bring dry air and fire warnings. They bring sustained wind loads that push directly against garage doors, especially on homes in the foothill neighborhoods of Lake Forest where wind funnels through canyons and hits east-facing garages at full force. Most garage doors are sized for dead load, which is the weight of the door itself. They’re not engineered for continuous lateral pressure. What that means for your door is that every Santa Ana event is a series of micro-impacts: the door flexes, the track takes the force, and the bolts that hold the track to the wall are slowly worked loose.
The specific check that prevents a $400 track replacement is this: once per year, ideally in September before the wind season starts, check every lag bolt and mounting bracket on both vertical and horizontal tracks. You’re looking for any visible gap between the mounting bracket and the wall, any bolt that has started to pull away from the stud, or any track section that has shifted slightly out of alignment with the section above or below it. A track that’s loose by even a quarter inch changes the geometry of the entire door travel. Over time, that misalignment causes the door to bind, and a binding door burns through rollers, hinges, and eventually the opener’s internal gears.
Here’s what to look for, in order of priority:
- Stand inside the garage with the door closed. Visually trace each vertical track from floor to ceiling. The track should be perfectly flush against the wall brackets the entire way. Any gap, even small, is a warning sign.
- Check the horizontal tracks above your head. They should be level and parallel to each other. If one sags, you’ll see it when the door travels through the curve.
- Look at the flag bracket, the metal piece that connects the vertical and horizontal track. This is the highest-stress point on the entire track system and the first place Santa Ana-driven movement shows up.
- If you have a carriage-style or heavy wood door, check the track brackets more often. Heavier doors put proportionally more load on every fastener.
When wind has already shifted a track, the damage compounds. A door that’s binding by half an inch puts about 40 percent more load on the opener than one running true. Openers wear out faster under that kind of stress, and in our experience in Lake Forest, opener failures often trace back to a track issue that started months earlier and went unchecked.
UV Damage to Seals and Weather Stripping
Your garage door’s bottom seal, side weather stripping, and top jamb seal are all made from rubber or vinyl compounds that degrade under direct UV exposure. The Sun Belt version of this failure looks different than what you’d see in cold climates: instead of freezing and cracking, the material slowly loses its plasticizers. It gets brittle, shrinks slightly, and develops hairline cracks that might not be visible unless you bend the material back on itself.
The timeline in Lake Forest depends heavily on exposure. A south or west-facing garage door in direct afternoon sun will see meaningful UV degradation in two to three years. The same door on a shaded north-facing garage or one protected by a porch or carport can go five to six years before the seals need replacement. This is a point most generic checklists miss entirely: they assume a national average replacement interval that doesn’t account for Southern California’s specific sun exposure.
How to Check Your Seals the Right Way
- Bottom seal: With the door closed, look at where the door meets the concrete floor. You should see the seal making full contact along the entire width. Now go inside and look at the same spot from the garage side. Light coming through means the seal is no longer doing its job.
- Bend test: For the bottom seal specifically, lift the edge of the door and pinch the rubber flap. Bend it sharply back on itself. Healthy rubber returns to its original shape immediately. UV-degraded rubber stays bent or shows white stress marks at the bend point.
- Side and top seals: Run your hand along the weather stripping on the door frame. You’re feeling for brittleness, not just looking for gaps. Degraded stripping feels rough or chalky. Healthy stripping feels smooth and slightly slick.
Replacing a bottom seal is a homeowner-level job if you’re comfortable removing and reinstalling the aluminum channel it slides into. The seal itself costs between $15 and $40 depending on door width. Side and top seals are also accessible. What to watch for: on older wooden jamb doors, the seal may be nailed or stapled rather than held in a channel. In those cases, replacement is a bit more involved, and a quick call to a Lake Forest garage door installation specialist can save you from doing the job twice.
Lubrication in High Heat: What Works, What Doesn’t
Here’s the thing about lubricating a garage door in Lake Forest: the products that work in most of the country fail faster here because of heat. Standard white lithium grease, the spray kind, is fine for most climates but breaks down on a dark-colored door surface that hits 130 degrees on a July afternoon. When it breaks down, it becomes sticky instead of slick, and the dust from our dry foothill environment sticks to it. The result is a grinding paste that accelerates wear on rollers and hinges.
The right product for our climate is a garage door-specific lithium or Teflon spray lubricant. The key is that it’s a dry lubricant, meaning it dries to a film rather than staying wet and collecting dust. For the rollers themselves, the best approach in high heat is to use a light oil like 10W-30 on the roller bearings if you have metal rollers with exposed bearings. If you have sealed nylon rollers, skip the oil entirely: they’re designed to run dry, and oil just gives dust something to cling to.
The Lubrication Schedule That Works in Lake Forest
- Every three months in general: lubricate hinges, spring, arm, and bearing plates. One light pass on each point. More is not better, especially in a dusty environment.
- Monthly during Santa Ana season (October through January): wipe down the tracks and vertical rails with a dry cloth before lubricating the moving parts. This removes the fine dust that coats everything during wind events.
- Skip the tracks entirely. This is the most common lubrication mistake we see. The rollers roll inside the track; they don’t slide. Lubricating the track does nothing except give dust a place to stick, which makes the door run worse. If your door is loud and you think it needs track lube, the actual fix is either worn rollers or a track alignment issue.
- Never use WD-40 on any part of a garage door. It’s a solvent, not a lubricant. It strips existing grease and provides no meaningful long-term lubrication. In SoCal heat, it also evaporates faster, leaving your springs and hinges drier than before you started.
There’s one more high-heat consideration: garage door openers. The opener’s internal gears are lubricated at the factory and typically don’t need homeowner attention. But the opener rail, especially on chain and screw-drive models from Genie and LiftMaster, does. If your opener manual specifies rail lubrication, use the manufacturer’s recommended product at the recommended interval. Most manuals call for every six months. In Lake Forest’s heat, stick to that schedule rather than waiting longer.
Homeowner vs. Professional: A Task-by-Task Breakdown
There’s a real distinction between what a competent homeowner can safely tackle and what genuinely requires a trained technician. This isn’t about liability hedging; it’s about the physical reality of garage door mechanics. A garage door weighs between 150 and 500 pounds. The springs that counterbalance it are under hundreds of pounds of torque. When those springs release their tension suddenly, they move with enough force to break bones. That’s not a suggestion. That’s the physics of the system.
Here’s the honest breakdown for Lake Forest homeowners:
Safe for Homeowners
- Visual inspection of tracks, rollers, cables, and mounting hardware. Looking at things costs nothing and catches most problems early. This includes the monthly checks described in the seasonal calendar.
- Lubricating hinges, springs, and accessible bearings. This is safe as long as you don’t put your hands anywhere near the spring while it’s under tension. Lubrication is a wipe-on-spray operation, not a disassembly.
- Checking and replacing the bottom seal. The seal slides out of its channel when you pull the old one out horizontally. The spring never needs to be touched. The door remains supported by its cables the entire time.
- Tightening track bolts and mounting brackets. Hand-tighten or gently snug with a wrench. Don’t torque them aggressively; the bolts go into wood studs, and stripped holes are worse than loose bolts.
- Balancing test (the manual lift test). This test requires you to lift the door about two feet and let go. The door stays put if the springs are correct. This is safe because you’re not touching the springs, just the door itself.
- Monthly safety reversal test. This is arguably the most important test in the entire list. A door that doesn’t reverse on a 2×4 is a genuine safety hazard, especially in homes with kids or pets. Testing it takes two minutes.
Requires a Professional
- Spring replacement or any spring adjustment. Torsion springs store enormous energy. The winding and unwinding process is dangerous without the right tools and training. In Lake Forest, spring failure is the single most common emergency call we get between October and January. This is not a DIY job, and no YouTube video makes it one.
- Cable replacement. Cables work alongside the springs. They’re under full tension whenever the door is up. A cable that snaps while you’re working near it can cause serious injury.
- Track realignment. If a track has shifted enough that the door binds or scrapes, the fix usually means removing and re-setting the entire section. It’s not just loosening and re-tightening bolts. Door geometry needs to be correct along the entire travel path.
- Opener repair beyond the photo-eye alignment. Misaligned photo eyes are easy to fix yourself: loosen the wing nut, adjust the sensor so both lights are solid, re-tighten. Beyond that, opener work involves internal gears, circuit boards, and potentially electrical connections. Creekside is an opener repair specialist in Lake Forest, which matters because opener problems are frequently misdiagnosed by general home repair services.
- Panel replacement on a sectional door. This requires disassembling hinges under load and supporting the door correctly. Getting this wrong damages the sections above and below the one you’re replacing.
A good rule of thumb: if the job requires touching the spring, the cable, or the track geometry, call a professional. If it only requires looking, spraying, or tightening, it’s a homeowner task. This distinction is why Creekside Garage Door Repair exists. We work on what you have, whether it’s an older Chamberlain opener or a current Clopay door, and we’ll tell you when a part has life left in it rather than pushing a replacement.
How to Document Your Door’s Condition with Photos
Here’s a practice that saves Lake Forest homeowners real money, and almost no one does it. Take photos of your garage door system twice a year, in March and September, and store them in a folder on your phone. When something fails and you need a contractor, those photos give the technician a baseline: what the door looked like before the problem started, what components are original, which parts were already showing wear. The result is a faster diagnosis and fewer exploratory service hours on your invoice.
Most contractors diagnose from the current condition only. Photos showing what changed, and when, can cut the diagnostic phase in half. A crumpled bottom panel that hits the driveway was already dented in September’s photo. A spring with visible surface rust that snapped in November had already been flagged by the camera months earlier. When the technician sees the progression, they know what to look for.
What to Photograph, in Order
- Full door from inside, closed. Stand about 10 feet back and get the entire door, from floor to ceiling, both sides in frame. This is your reference shot.
- Full door from outside, closed. This captures panel condition, paint fading, and any exterior seal issues.
- Springs and cables, close up. Get a clear shot of the torsion spring above the door or the extension springs on the sides. Include the cables in the same frame. This is the photo that typically matters most for emergency calls.
- Track and rollers, both sides. Take one photo per side, from the floor up to the horizontal track. Zoom in on the flag bracket where the track curves.
- Bottom seal. With the door open about three feet, get a photo of the bottom seal along the entire width. UV degradation shows up in photos even when it’s hard to see in person.
- Opener and rail. Standing on a step stool, photograph the opener unit and the rail from below and slightly behind. If your opener is a Genie, LiftMaster, or Chamberlain, include the model sticker in the photo. The model number matters for parts.
- The problem area (when something’s wrong). If you’re documenting because something is failing, take three photos of the problem area: wide shot for context, medium shot of the component, close-up of the specific damage or wear. This is the standard contractor triage sequence.
Save the photos in an album called “Garage Door” with the date in the filename. When you call Creekside for garage door repair in Lake Forest, mention that you have photos. We may ask you to send the triage set before scheduling, which can save a dispatch if the issue is something simple enough to resolve with guidance over the phone.
Common Mistakes to Avoid
- Lubricating the track. You already saw this above, but it bears repeating because it’s the single most common DIY garage door mistake in Lake Forest. The rollers have bearings; they roll. Greasing the track just turns our dry Santa Ana dust into sandpaper paste.
- Spraying lubricant directly on nylon rollers. The nylon wheel rides fine dry. The problem is usually the bearing inside, which is often sealed and not accessible anyway. Extra spray just collects dust where the roller touches the track.
- Ignoring a noisy door until it fails. Noise is the early warning. A door that’s been sq
ueaking for six months and then stops making noise hasn’t fixed itself: it’s likely that a bearing has failed and the roller is now flat-spotting or dragging. Replace rollers when they’re noisy, not when they fail.
- Adjusting force settings to fix a dragging door. This happens constantly. The door starts binding, so the homeowner cranks up the opener’s force setting until the door “works.” What they’ve actually done is masked the underlying problem and put the full strain on the opener’s motor and gears. The correct fix is diagnosing the bind, which usually traces to track alignment or worn rollers.
- Testing the auto-reverse with a soft object. The standard test uses a 2×4 laid flat, not a garbage can or cardboard box. A door that reverses against a cardboard box might not reverse against a child. Test the way the manufacturer specifies.
- Replacing one spring and leaving the other. This is a false economy on two-spring doors. Both springs wear at roughly the same rate when the door is used normally. Replacing only the broken one means the older one fails a few months later, and you pay for a second service call. Any reputable garage door company replaces both.
- Skipping the fall inspection because the door “seems fine.” Most Santa Ana-season spring failures in Lake Forest happen on doors that seemed fine until the moment the spring snapped. The inspection exists to catch the fatigue before it becomes a failure, not afterward.
When to Call a Professional
You should call a professional when the spring has broken, when a cable is frayed or has snapped, when the track is visibly out of alignment, when the door is binding beyond a simple lubrication fix, or when your opener is making a grinding sound that’s coming from inside the motor unit itself. Also call if your door has been hit by a vehicle, even lightly. Impact damage often bends panels and shifts track geometry in ways that aren’t immediately obvious but cause problems within weeks or months.
For anything involving springs, cables, or track realignment, we recommend calling a licensed garage door contractor rather than attempting the repair. These systems are under tension in ways that are genuinely hazardous. Creekside Garage Door Repair offers free estimates in Lake Forest, and our technicians carry parts for all eight major brands we service: LiftMaster, Chamberlain, Genie, Clopay, Amarr, Wayne Dalton, Craftsman, and Raynor. Call us at (877) 358-5495 and we’ll give you the right fix, not the most expensive one.
Frequently Asked Questions
A quarterly lubrication schedule works for most Lake Forest garage doors, with an extra application in October before peak Santa Ana wind season and another in June before peak heat. Use a dry lithium or Teflon spray on hinges, springs, and bearing plates. Avoid lubricating the track itself, which just collects dust in Lake Forest’s dry climate.
A professional garage door inspection and tune-up in Lake Forest typically runs between $85 and $180, depending on the door’s age and what’s included. Parts like bottom seals, rollers, and hinges are extra and generally range from $20 to $150 per component. Spring replacement runs $220 to $450 for a standard two-spring torsion system. We quote every price before we start work, so you’ll know the number before any tool touches the door. Call (877) 358-5495 for a free estimate.
Yes, the inspection, lubrication, seal replacement, and bolt-tightening tasks in this guide are all homeowner-appropriate. The line is at springs, cables, and track realignment: those require professional training and tools. A good rule of thumb is that if the task only requires looking, spraying, or tightening, it’s a homeowner job. If it requires touching any part under spring or cable tension, call a professional.
The clearest signs of a weakening spring are a door that drops when you lift it manually to waist height, visible wear and coil separation in the spring itself, and an opener that’s audibly struggling to lift the door. Most torsion springs last 7 to 12 years in Lake Forest with normal use. If your door is that age and has never had the springs replaced, an inspection is overdue.
Santa Ana winds carry extremely fine dust from the inland foothills, and that dust works its way into roller bearings, hinges, and spring coils. Combined with the dry air, the dust causes metal-on-metal friction that sounds like grinding or squeaking. The fix is usually a thorough cleaning of the rollers and hinges followed by fresh lubricant, not more lubricant on top of the old dirty film.
In Lake Forest, a garage door opener typically lasts 10 to 15 years, assuming the door itself is properly balanced and maintained. The most common cause of premature opener failure we see is a door that’s out of balance or binding, which forces the opener to work harder on every cycle. A well-maintained door extends the life of an older Chamberlain, Genie, or LiftMaster opener significantly. When an opener repair isn’t worth the cost, Creekside can walk you through replacement options.
The Bottom Line
The maintenance checklist that matters in Lake Forest is about our specific failure patterns: heat-stressed springs, UV-degraded seals, and dust-loaded tracks during Santa Ana season. The 30 minutes you spend on monthly visual checks and quarterly lubrication will catch most problems before they turn into a stranded car and a repair bill that could have been avoided. When something does fail, you have a clear path: document the condition, call a brand-agnostic specialist who works on all eight major brands rather than locking you into one, and get a quoted price before any work starts. Creekside Garage Door Repair is local to Lake Forest, and you can reach us at (877) 358-5495 for a free estimate on any of the three core services: garage door repair, garage door opener repair, and garage door installation. Eight brands, one call, and we work on what you have.
Written by the team at Creekside Garage Door Repair, serving Lake Forest since 2014.
See the difference
 Before
 After
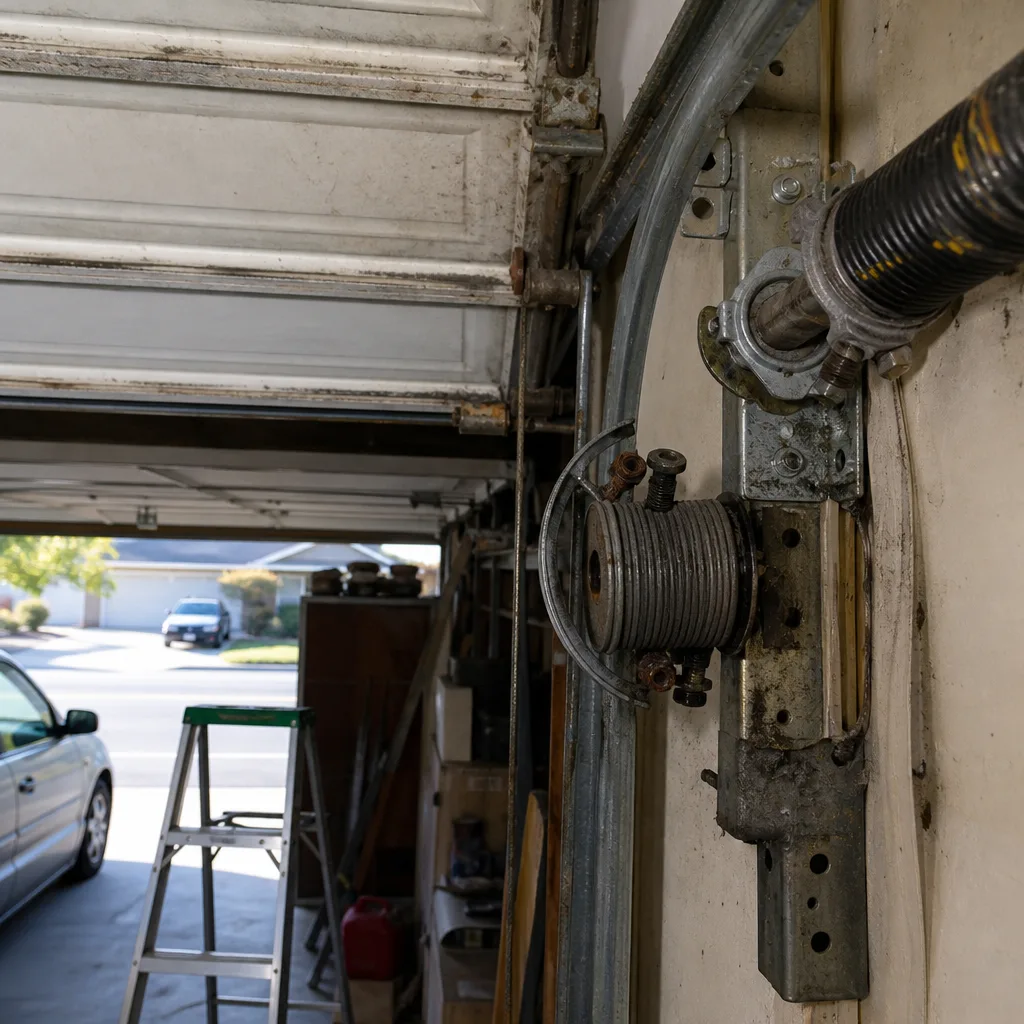 Before
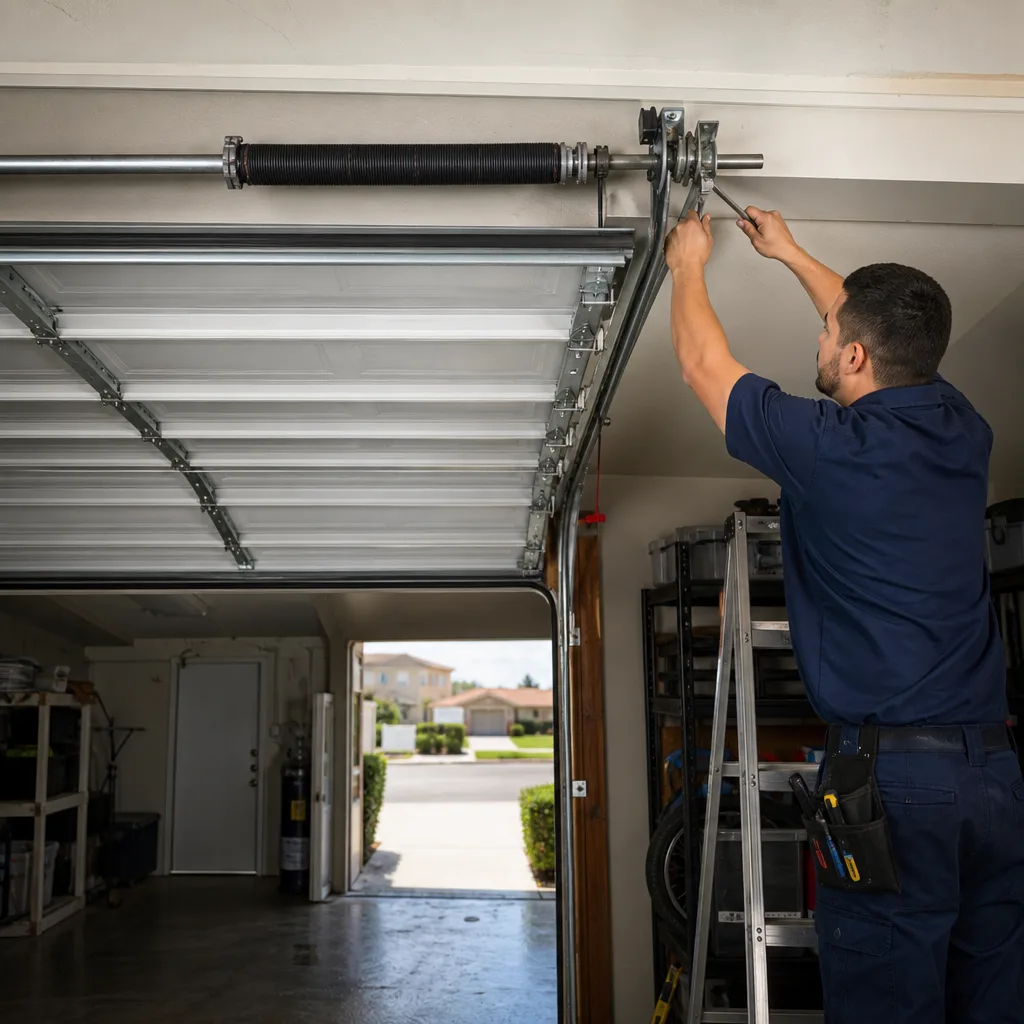 After
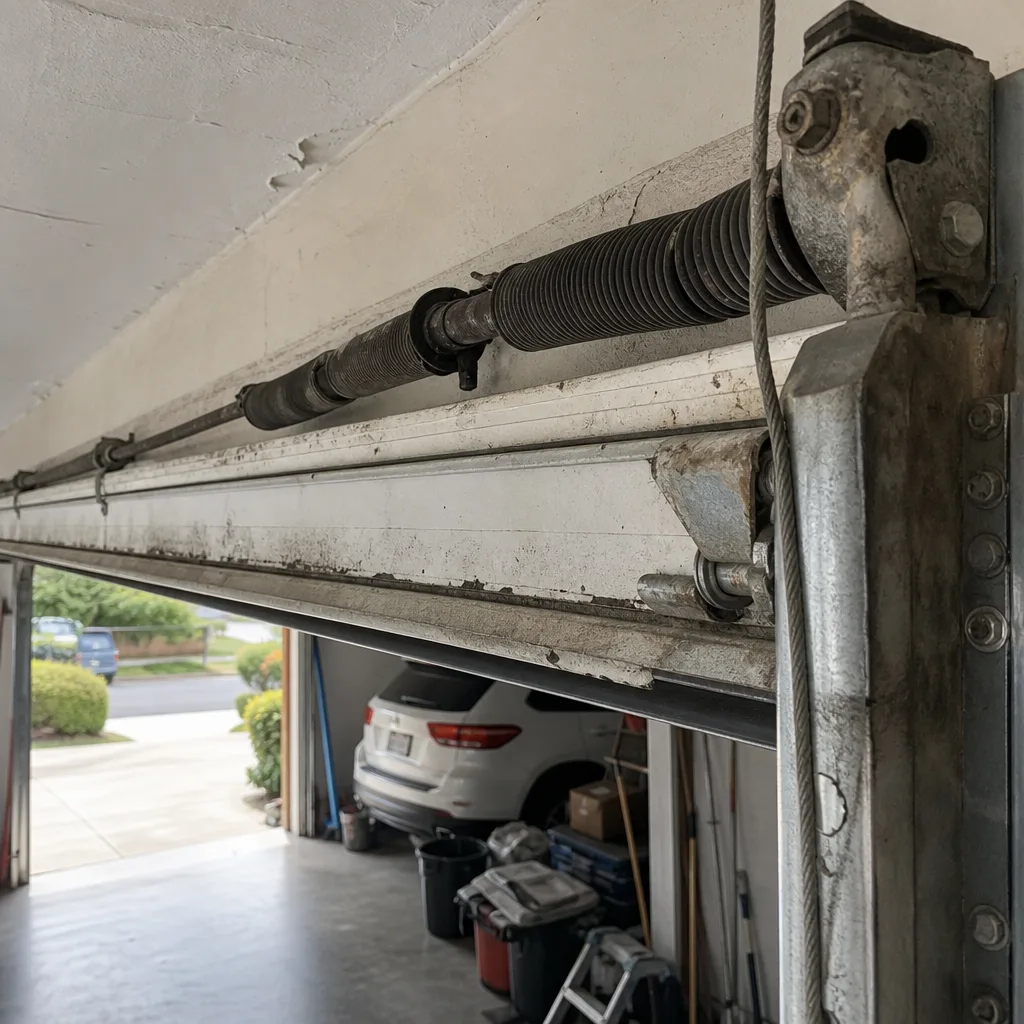 Before
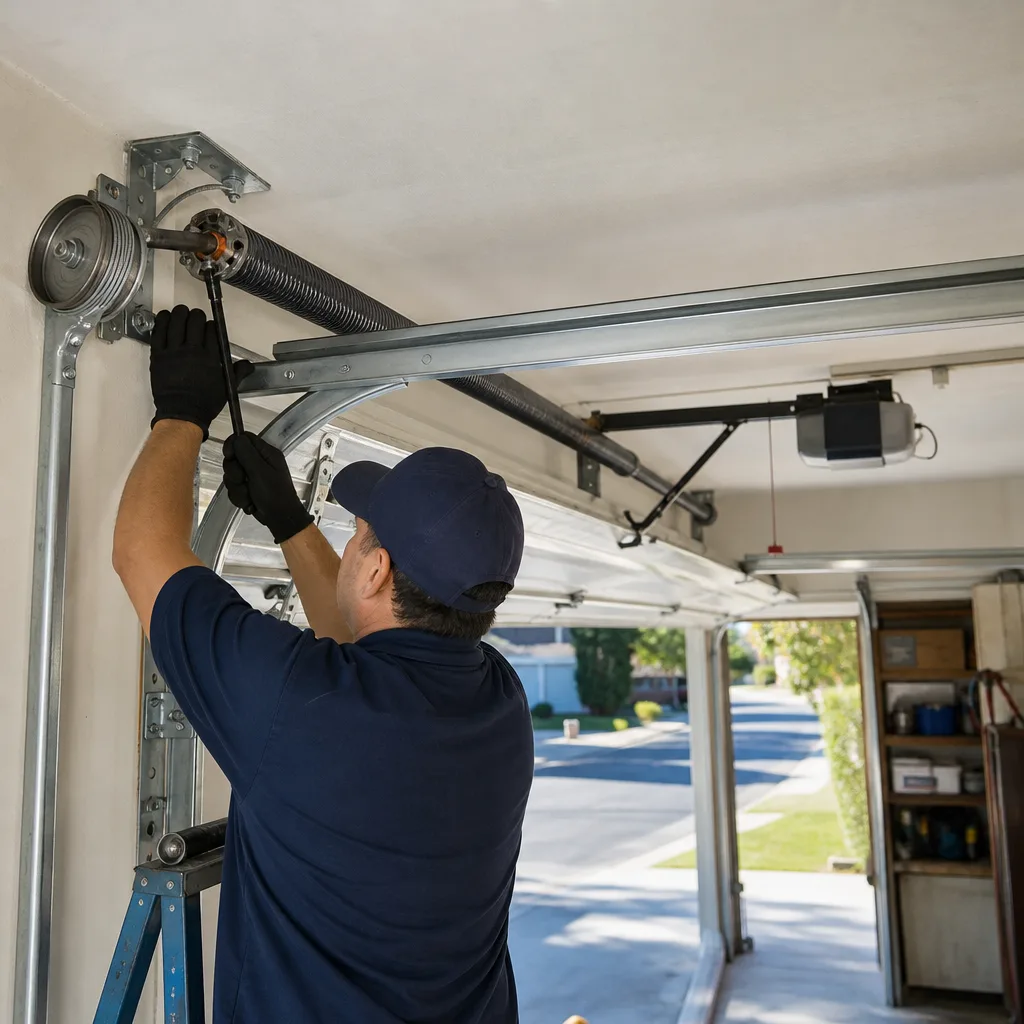 After