
Last updated November 2, 2026
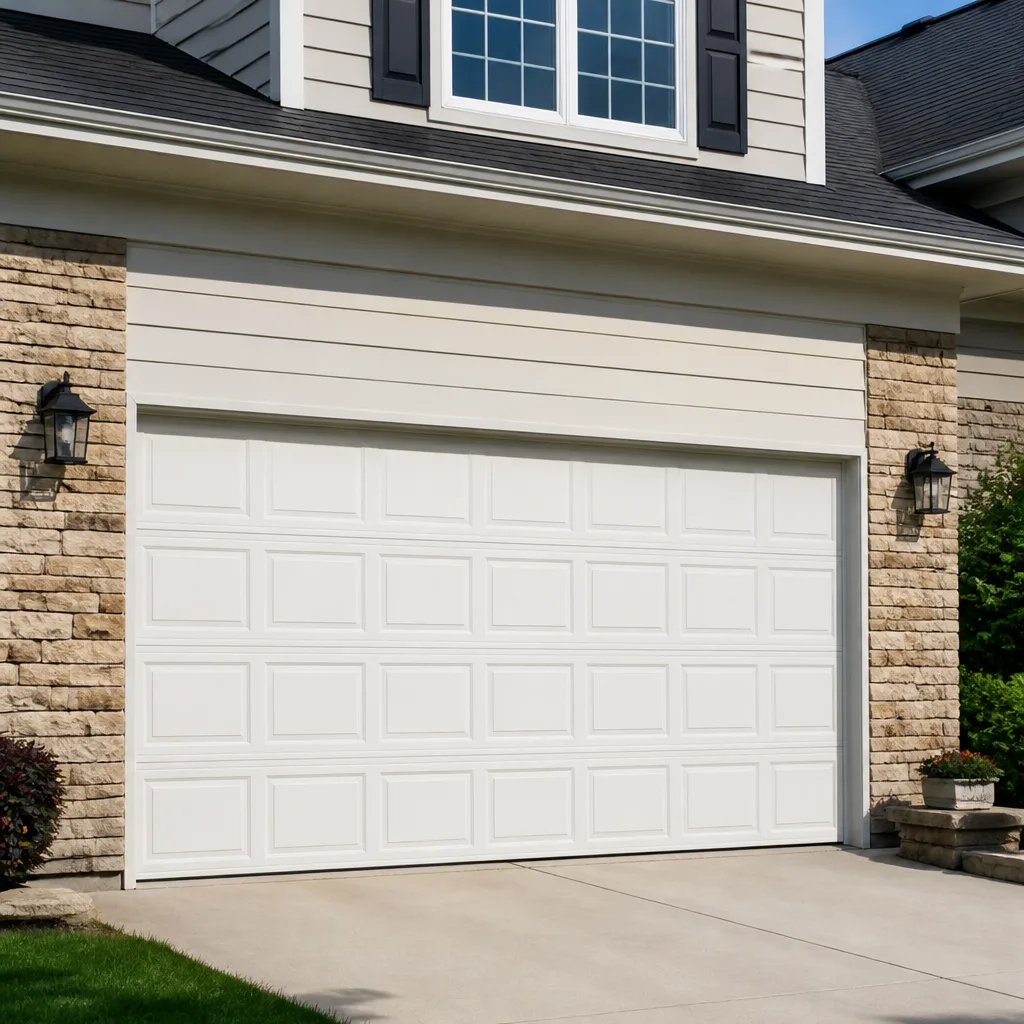 Raised-panel steel
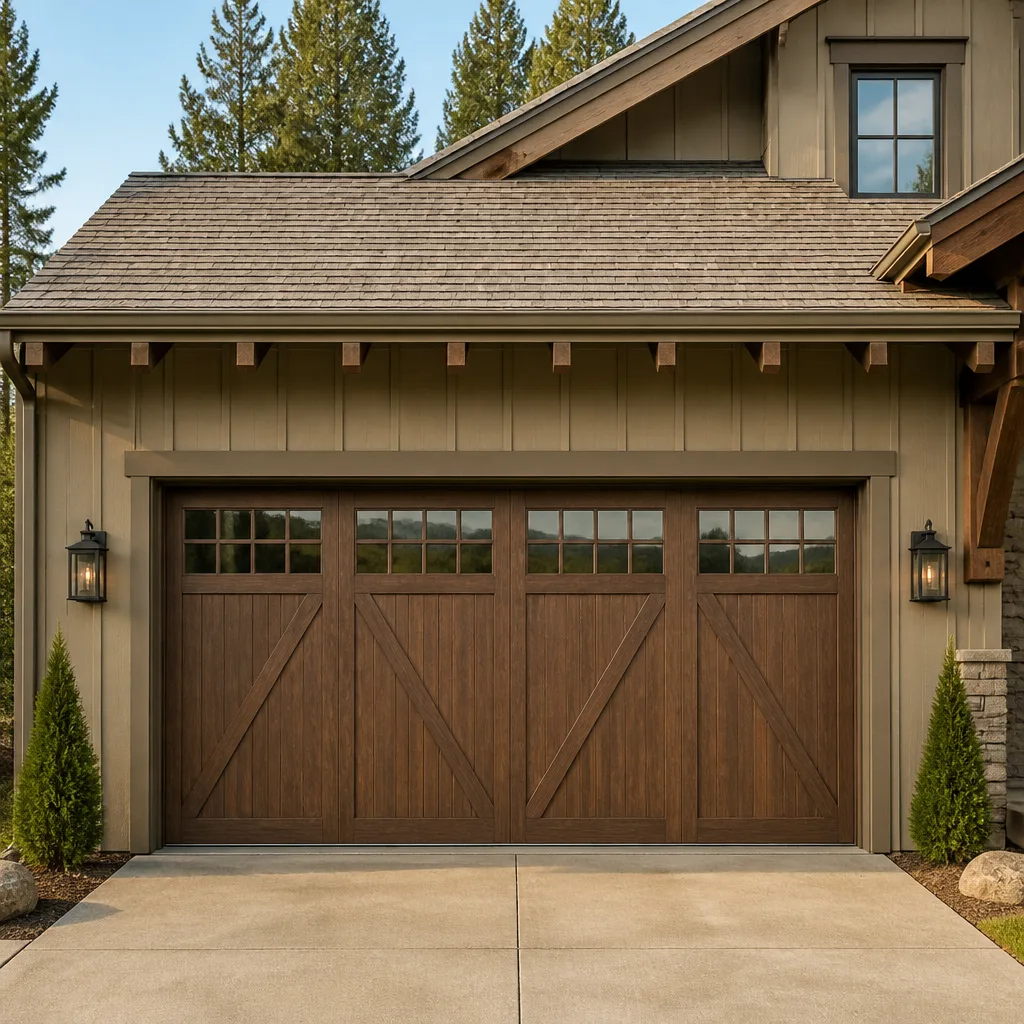 Carriage house
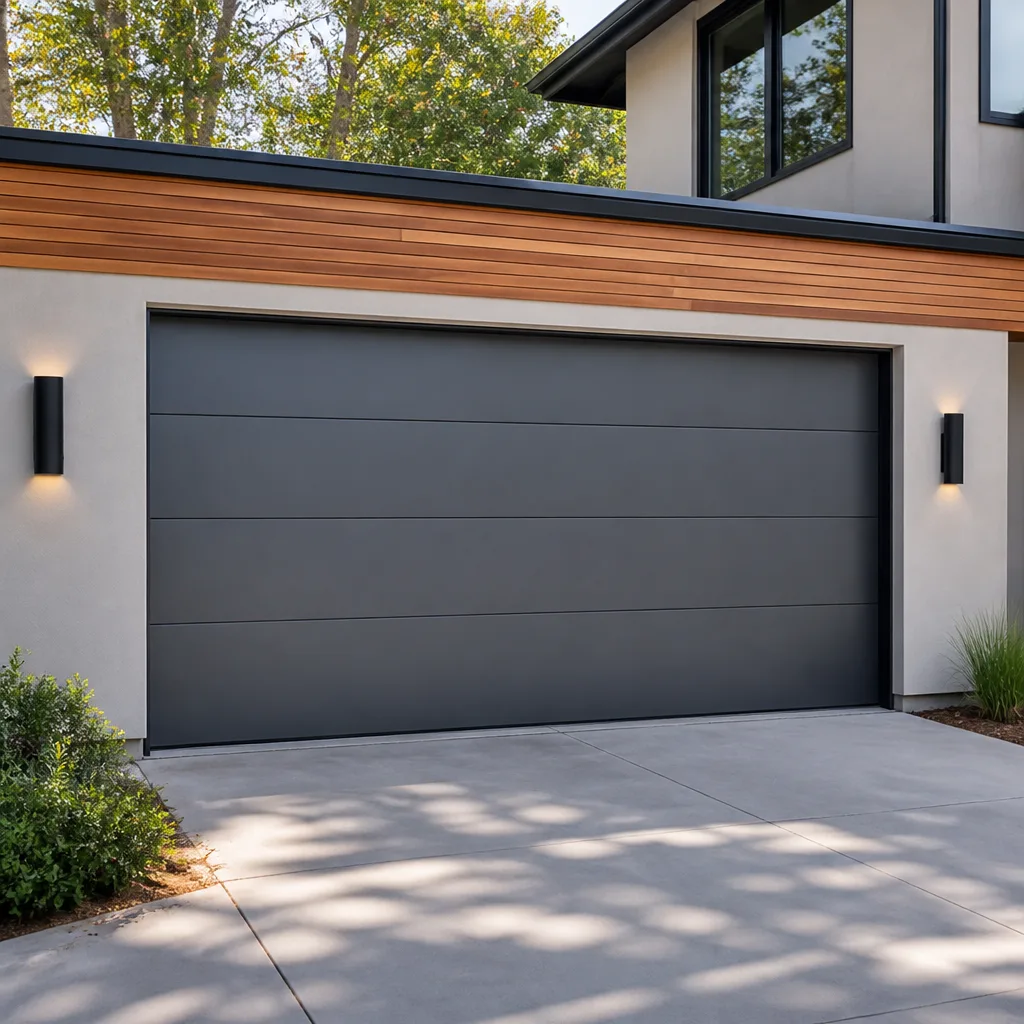 Modern flush
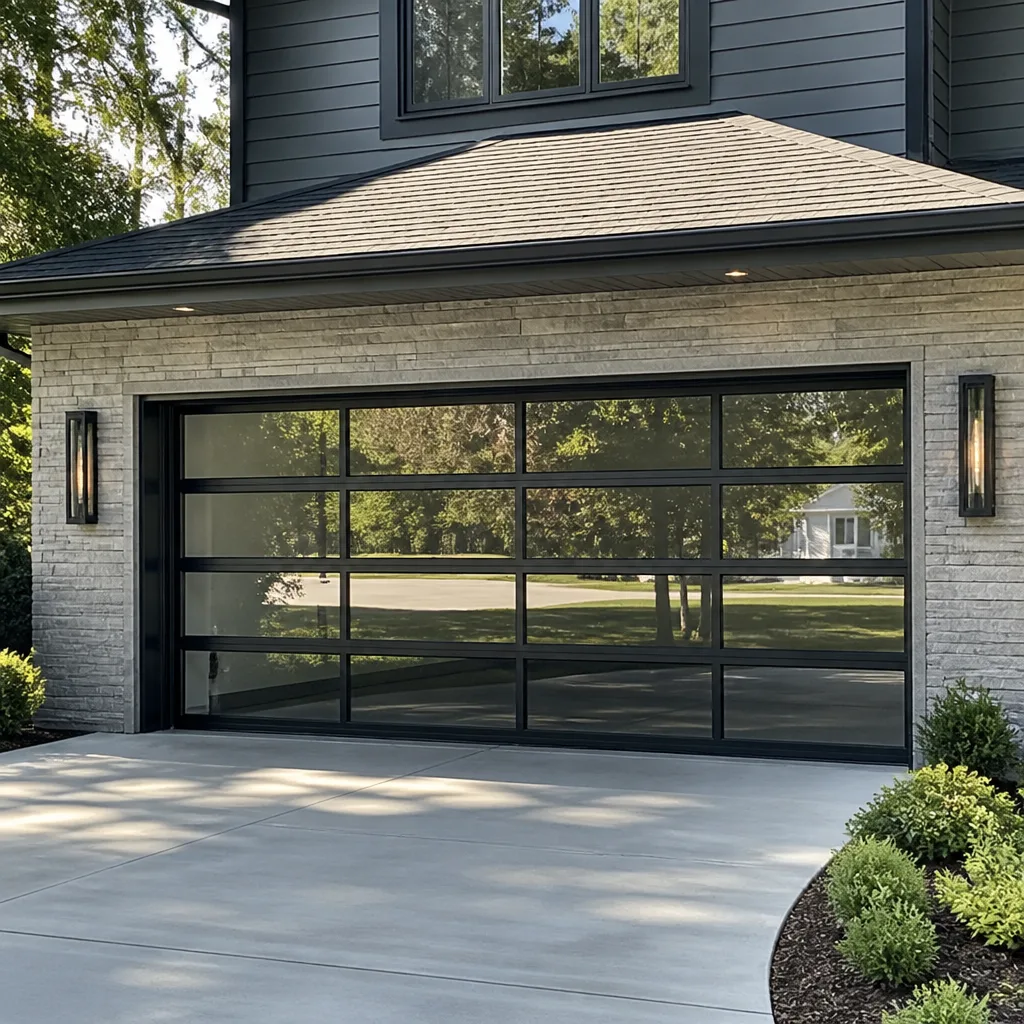 Full-view glass
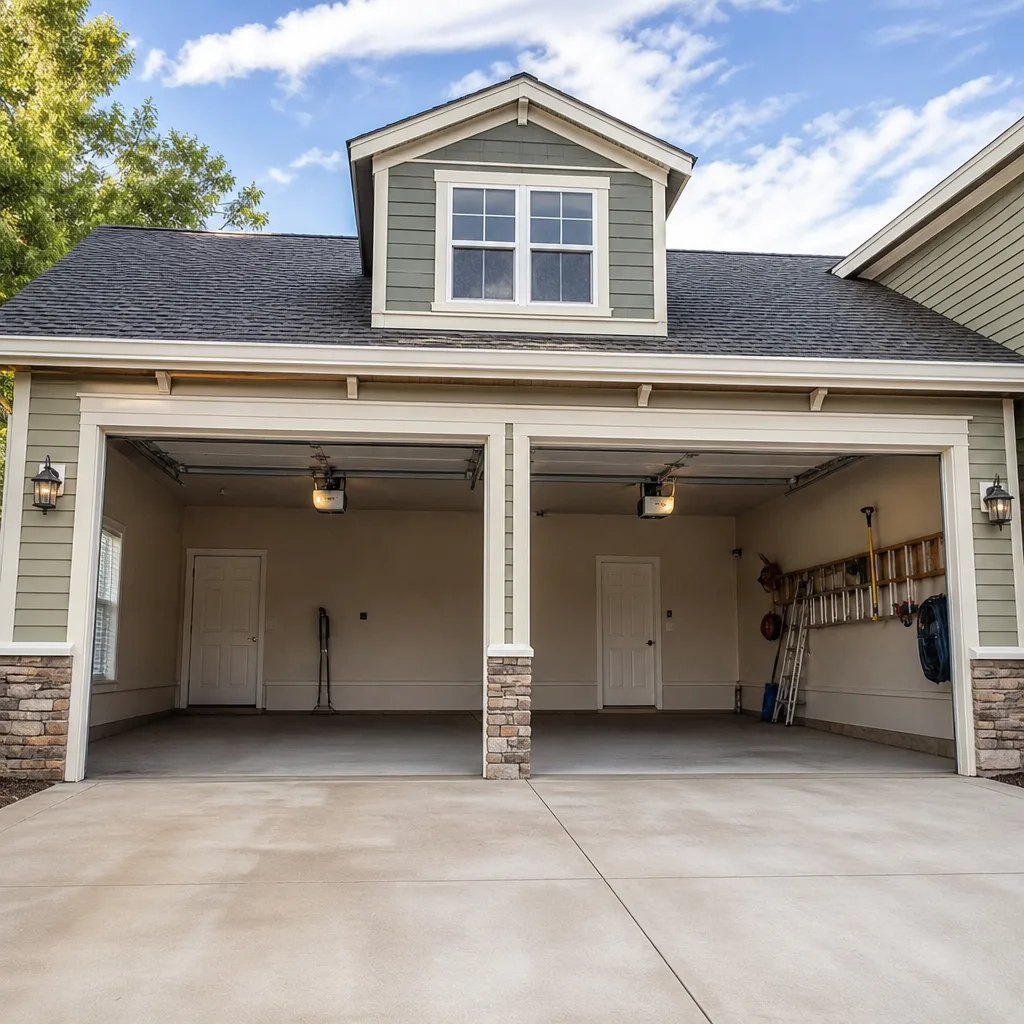 LiftMaster openers
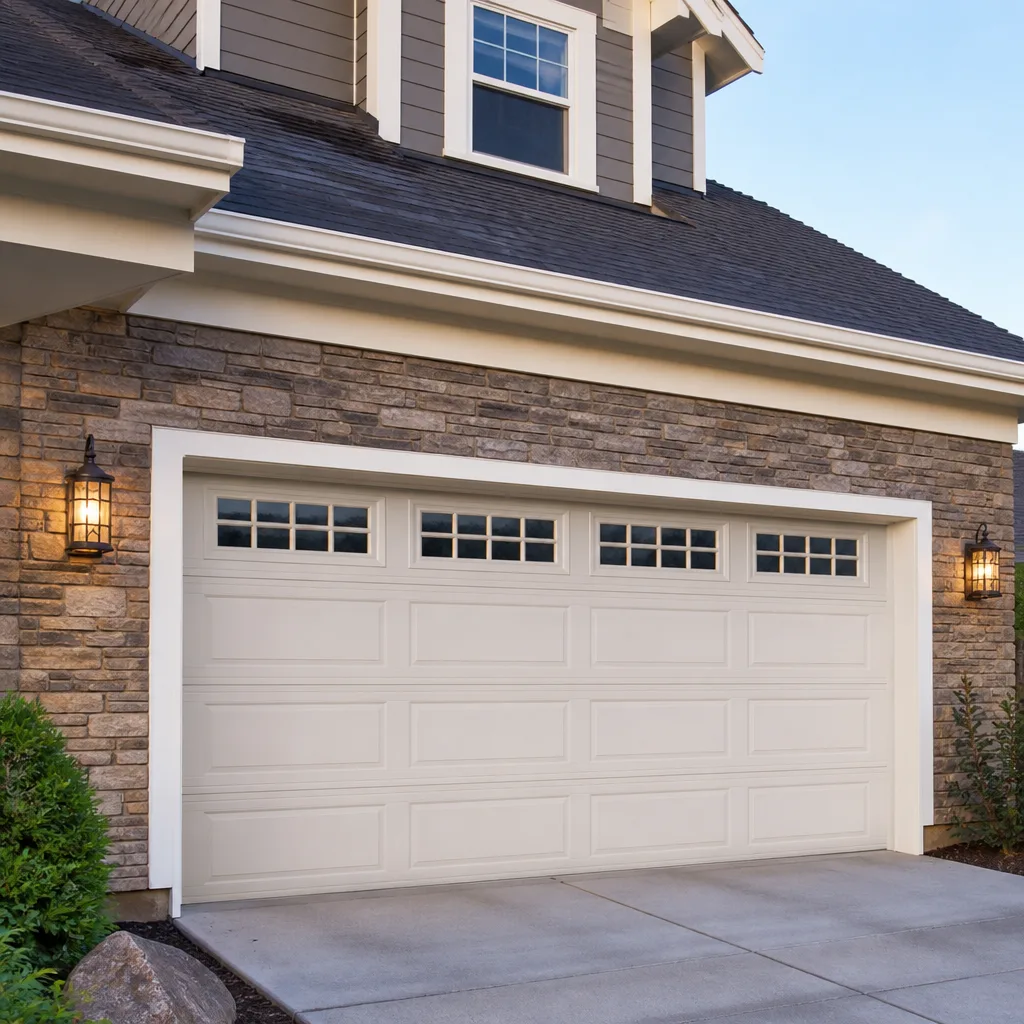 Chamberlain openers
Full 25-point door and opener safety check with every visit - springs, cables, rollers, tracks, and your LiftMaster or Chamberlain opener included
You get a price before we start. It does not change when the truck arrives.
Get your free estimateDIY vs Professional Garage Door: The Lake Forest Homeowner’s Decision Guide
Every year in Lake Forest, a homeowner ends up in the emergency room because a garage door spring let go while they were standing too close to it. Torsion springs under tension store roughly the same energy as a small car rolling at 10 miles per hour. That’s not a reason to fear your garage door. It’s a reason to understand which parts of it you can safely touch and which parts demand a trained hand. This guide draws that line plainly, without the scare tactics, so you can make a clear-eyed call whether to grab a wrench or pick up the phone.
Quick Answer
Most garage door maintenance tasks in Lake Forest, like lubricating rollers, replacing weather stripping, and realigning photo-eye sensors, are reasonable DIY jobs for a careful homeowner. Any work involving torsion or extension springs, lift cables, or full opener installation on a heavy door warrants a professional because the failure consequence is measured in hospital visits rather than inconvenience.
Styles & brands we work with
- Raised-panel steel
- Carriage house
- Modern flush
- Full-view glass
- LiftMaster openers
- Chamberlain openers
Table of Contents
- Safe DIY Tasks: What You Can Handle This Weekend
- Professional Required: The Line You Don’t Cross
- The Tool Cost Reality Check: Why DIY Springs Make No Financial Sense
- What a YouTube Video Actually Prepares You For
- The Hidden Cost of a Failed DIY Attempt in Lake Forest
- How to Be a Useful Participant in a Professional Repair
- Common Mistakes to Avoid
- When to Call a Professional
- Frequently Asked Questions
Safe DIY Tasks: What You Can Handle This Weekend
Some garage door maintenance is genuinely approachable. The dividing line is simple: if the part you’re touching isn’t under stored tension and a mistake means the door doesn’t move or seals poorly, you’re in safe territory. Here’s what fits that description.
1. Weather Seal Replacement
The rubber strip along the bottom of the door cracks in Lake Forest’s dry summer heat within five to seven years. When you can see daylight under the door, you’re losing cooled air and inviting spiders. Replacing the bottom seal is a 30-minute job with a flathead screwdriver and a utility knife. The old seal slides out of its track, the new one slides in. No tension, no risk, immediate payoff.
2. Lubrication
Squeaking doors are usually just dry rollers and hinges. A can of white lithium grease or garage-door-specific spray lube costs about $12 at any Lake Forest hardware store. Apply it to the roller bearings, hinge pins, and the spring coils themselves (a light coat, not a soaking). Do this twice a year and you’ll extend the life of every moving metal part. Do NOT use WD-40 as a lubricant. It’s a solvent and will strip existing grease.
3. Photo-Eye Sensor Alignment
If your door reverses for no apparent reason when closing, the likely culprit is a misaligned sensor. The two photo eyes sit about six inches off the ground on either side of the opening. When the door’s vibration knocks one slightly off-axis, the beam breaks and the opener thinks a child or pet is in the way. You’ll see a blinking light on the sensor. Loosen the wing nut, adjust the sensor until the light turns solid, retighten. This is the single most common “repair” that requires no repair at all.
4. Remote and Keypad Programming
Programming a replacement remote for a Chamberlain, Genie, or LiftMaster opener takes under five minutes and involves nothing more than pressing the Learn button on the motor unit and a button on the remote. Same logic for wireless keypads. The instructions are printed inside the opener’s light cover on most models made after 2005. No tools, no ladder beyond a step stool, no risk.
5. Tightening Loose Hardware
Garage doors cycle thousands of times yearly and vibration shakes hardware loose. Twice a year, walk the door with a socket set and snug up the bolts on hinges, track brackets, and the opener rail. Check that the track itself is still plumb. A door that rattles when it runs is usually just loose bolts, and every one of them is safe to tighten.
These tasks share a common thread: the worst realistic outcome is a door that still doesn’t work quite right. You fix it, you learn something, you move on. No trip to Mission Hospital involved. For more guides & resources on safe garage door care, explore our blog.
Professional Required: The Line You Don’t Cross
Now the other side of the ledger. Certain components hold dangerous tension or carry the full weight of the door. When these parts fail, they don’t fail gently. In our experience across Lake Forest, El Toro, and Foothill Ranch, the injuries we hear about are always from the same three components. We’ll be direct: do not work on these yourself.
Torsion Springs
The spring above your door is wound under 9 to 12 full revolutions of tension. It’s not a coil spring like a ballpoint pen. When a torsion spring snaps or when someone attempts to unwind it incorrectly, the stored energy releases instantly. A wrench can become a projectile. Fingers caught in the winding cone can be severed. This is not a worst-case scenario invented for a safety brochure. It happens in residential garages every week somewhere in Southern California.
The tools alone should end the conversation for most people. Safe torsion spring work requires a set of winding bars sized precisely for the spring’s winding cone, a socket set good enough to hold under load, and the knowledge of how many quarter-turns a spring needs based on door height, weight, and cable length. The cost of the proper tools exceeds a professional service call. More on that in a moment.
Lift Cables
The cables on either side of the door work with the springs to lift and lower the door safely. When a cable snaps or frays, the door’s weight shifts unevenly. Attempting to replace a cable requires releasing the spring tension first. Anyone who tries to detach a cable from a door under full spring tension is, in effect, working on the spring system. The cable itself is not dangerous. The tension it’s attached to is.
Full Opener Installation on Heavy Doors
Mounting a new garage door opener on a lightweight aluminum door is a viable DIY for someone comfortable with ladders and basic wiring. Mounting one on a solid wood or double-layer steel door, common in older Lake Forest tract homes built in the 1970s, is different. These doors weigh 300 to 500 pounds. The opener has to be sized correctly for the weight, the chain or belt tension set precisely, the force settings calibrated so the door reverses before it crushes anything. Get the force settings wrong and the door becomes a 400-pound press. That’s the actual failure mode, and it’s a serious one.
We work on what you have, across eight brands including Chamberlain, Genie, Clopay, and Amarr. The reason we’re blunt about which jobs are professional is simple: the right fix, not the most expensive one, often starts with telling a homeowner what not to touch.
The Tool Cost Reality Check: Why DIY Springs Make No Financial Sense
Here’s a number that surprises most Lake Forest homeowners: the tools required to safely replace a torsion spring cost more than hiring a professional to do the job. Let’s lay it out.
- Winding bars (proper steel, correct diameter): $80 to $140 for a set that won’t bend under load
- Stud socket and breaker bar rated for high torque: $60 to $100
- Replacement spring (correct size, IPPT rating, and wind direction): $90 to $180 per spring, and most doors need two
- Center bearing, cables, and cable drums if worn: $40 to $80
- Total at the low end: $270 in tools and parts before you account for mistakes
A professional spring replacement in Orange County typically runs $180 to $340 for a standard double-spring setup, including the springs and labor. When the parts are included, a homeowner doing this job for the first time saves little to nothing. And that’s the good scenario. The bad scenario is buying the wrong spring size, discovering the door is still unbalanced, and paying for a same-day emergency service anyway. Now you’ve spent $270 on tools gathering dust in the garage plus the service call you were trying to avoid.
DIY savings apply to tasks with minimal tool investment. Replacing weather stripping requires a $15 utility knife and a $20 seal. That’s a real $120 savings over a service visit. The math only works when the tools are cheap and the stakes are low.
What a YouTube Video Actually Prepares You For
YouTube is a phenomenal resource. It’s also a flattening one. A 12-minute video titled “Replace Your Garage Door Spring in 12 Minutes” has to compress reality, and the things it leaves out are exactly the things that matter in a real Lake Forest garage: the condition of your specific door, the exact dimensions of your spring, the angle of your headroom, the rust on your cable drums from forty years of coastal-influenced air.
What Videos Teach Well
- Where the winding cone is on a torsion spring
- The concept of counting quarter-turns
- What a wound vs. unwound spring looks like
- Basic terminology: drums, cones, brackets, tracks
What Videos Cannot Teach
- Balancing a door after the spring is installed
- Whether the cable drums need replacement based on wear patterns specific to your door’s age
- How a Clopay door from 1995 differs from an Amarr door from 2018 in spring requirements
- When a door is too heavy to work on without a second person
- What a properly tensioned spring feels like through the winding bar, which is a tactile skill built over hundreds of replacements
The gap between watching and doing is narrow for painting a wall. It’s wide for spring work. The video shows you what to do. It cannot show you what to do when your specific door, in your specific garage, with your specific worn parts, doesn’t match the demo. That’s when people improvise. That’s when injuries happen.
The Hidden Cost of a Failed DIY Attempt in Lake Forest
Let’s talk about Sunday. You started a spring replacement on Saturday afternoon, confident from the video. Something didn’t go right. The door is now half-open, the spring is partially unwound, and your car is trapped inside. It’s Sunday morning and you need the door working by Monday’s commute. This exact scenario is why we published a Garage Door Emergency Preparedness Guide for Lake Forest Homes.
In Lake Forest, emergency or same-day garage door service on a weekend commands a premium. That’s not price gouging. It’s the market rate for a technician willing to interrupt a Sunday with their family to untangle someone else’s partially completed repair. You will pay more for that visit than you would have paid for a scheduled appointment on a weekday. And you’ll also pay in stress: the car trapped, the door hanging, the weekend consumed by a project that was supposed to save you $150.
The smarter financial calculation for most Lake Forest homeowners is this: do the maintenance tasks yourself, call for the spring, cable, and heavy-install work, and never experience the Sunday emergency surcharge at all. For a deeper look at typical repair expenses, see our Garage Door Cost Breakdown: The Lake Forest Homeowner’s Reference for 2026.
How to Be a Useful Participant in a Professional Repair
Hiring a professional doesn’t mean being passive. There’s real value in preparing well and observing a service call with intention. Here’s how to get more from the visit.
- Document the symptoms before the call. Note when the problem started, what the door does (won’t open, opens halfway, reverses, makes a grinding sound), and whether the behavior is consistent. Write it down or take a video on your phone. A technician arriving with a clear symptom description diagnoses faster than one who has to interrogate you.
- Know your door’s age and brand. If you don’t know, look for a label on the inside of the door panel or the opener motor. Knowing you have a Genie opener from 2012 on a Clopay door from the same year gives the technician useful context before they even inspect.
- Clear the garage floor under the door’s path. The technician needs room to work, set a ladder, and move parts. Moving boxes, bikes, and the storage rack out of the way before arrival saves time and means the technician can get straight to diagnosis.
- Ask to see the worn part. This is the big one. When the technician replaces a spring, a cable, a roller, or a gear, ask to see the old part. Look at it. Ask what the wear pattern indicates. A good professional will explain it in 90 seconds, and you’ll learn more about your door in that minute than from an hour of research. It also keeps the process transparent.
- Ask what you could have caught earlier. Not as a guilt trip, as a learning question. A technician who tells you “the spring’s rust pattern shows it was failing for months” is giving you the maintenance insight that prevents the next emergency.
We train our technicians to answer these questions gladly. A homeowner who understands their door makes a better customer, and frankly, a safer one.
Common Mistakes to Avoid
- Lubricating the nylon wheels, not the roller bearings. The wheel itself doesn’t need lube. The bearing inside does. Spraying the wheel’s surface just coats the track and attracts dust. Aim for the bearing at the wheel’s center.
- Using WD-40 on garage door springs. WD-40 is a degreaser, not a lubricant. It will strip the existing lubricant off your springs and leave them dryer than before. Use white lithium grease in a spray can.
- Disconnecting the opener’s emergency release cord while the door is up. If the door is under spring tension and you pull that red cord, the door can slam to the floor. The emergency release is for when the door is stuck. If you must pull it with the door up, have it blocked first.
- Adjusting the travel limits on your opener to fix a structural problem. If the door is binding because a roller is worn or a track is misaligned, adjusting the opener’s travel limits masks the symptom. The underlying issue gets worse until something breaks. Find the binding point first.
- Trying to replace a spring with a single broken spring but the other one intact. Doors with two springs should have both replaced together. They were installed as a pair and wear at the same rate. Replacing one leaves the old spring as the weak point, and you’ll be back in the garage within months doing the job again.
- Ignoring a door that’s gotten louder over time. Loudness is an early warning. Grinding, popping, or a sharp crack when the door moves often means a roller bearing is failing, a hinge is seizing, or a spring is about to go. Quiet doors are healthy doors.
- Waiting until the car is trapped to address a door issue. If your door has been making noise, sticking, or opening slower than usual for weeks, that’s the door telling you something. Addressing it while it still works means a scheduled visit at a standard rate. Waiting until it fails completely means an emergency call, and in Lake Forest, that emergency call often happens on a weekend.
When to Call a Professional
Call when the component in question stores tension or bears weight: springs, cables, and mounting for heavy doors. Call when the failure has already happened and your car is trapped. Call when you’ve watched the video, bought the part, stood in front of the door, and felt uncertain. That hesitation is information. It’s your brain recognizing a consequence you can’t fully see from where you’re standing.
For everything beyond the safe DIY list, Creekside Garage Door Repair offers free estimates in Lake Forest. We’ll assess the door, show you what’s actually wrong, and quote the repair before any work starts. Call (877) 358-5495 and we’ll get you back up and running.
Frequently Asked Questions
Garage door spring replacement in Lake Forest typically costs $180 to $340 for a standard double-spring setup, including parts and labor. Single-spring doors run lower, and doors with unusual dimensions or older hardware run higher. The price is quoted and agreed before any work starts, so there are no surprises. Call (877) 358-5495 for an exact quote based on your door’s specifics, estimates are free.
You can replace a garage door opener yourself if your door is lightweight, your garage has a standard ceiling height, and you’re comfortable with basic wiring and ladder work. But for heavier solid wood or insulated steel doors common in Lake Forest homes, professional installation is the safer choice because the opener’s force settings must be calibrated to the door’s exact weight. Mounting an opener on a heavy door without proper calibration creates a real crushing hazard.
The most common reason a garage door won’t open in Lake Forest is not the spring, the opener, or the track, it’s the photo-eye sensor being misaligned. The green light on the sensor blinks, the opener interprets it as an obstruction, and the door refuses to close. Realigning the sensor so both lights glow solid typically solves the problem in under five minutes with no parts and no tools beyond a screwdriver.
If you insist on doing the job yourself, yes, you need at least two people, proper winding bars, and knowledge of how many quarter-turns your specific spring requires. But honestly, you should not do this job yourself at all. The tension stored in a wound torsion spring is enough to cause serious injury. The right fix, not the most expensive one, often means calling someone who does this work weekly rather than once in a lifetime.
Garage door springs in the Lake Forest area typically last 7 to 10 years, assuming the door is used four to five times daily. The coastal-influenced air moisture accelerates rust on the spring coils, which shortens lifespan compared to inland desert communities. If your springs are over seven years old and you’re hearing popping sounds, they’re in their failure window.
No. The price quoted for a garage door repair is the price you pay, agreed before any work begins. If the technician discovers additional issues during the repair, those are discussed with you as separate decisions. You are never stuck with an invoice for work you didn’t approve. This is a reasonable expectation for any Lake Forest garage door service, and it’s the standard we operate by at Creekside Garage Door Repair.
The Bottom Line
The DIY versus professional decision for garage doors is not a question of intelligence or capability. It’s a question of consequence. Where the failure mode is inconvenience, handle it yourself and enjoy the satisfaction. Where the failure mode is a projectile wrench and a 400-pound door, call someone who knows the spring’s IPPT rating by touch. Lake Forest homeowners who internalize that one distinction will save money on the maintenance, avoid the emergency call, and keep all their fingers. That’s the whole decision, made clearly.
If you’d like help, we’re here. Creekside Garage Door Repair services Garage Door Repair in Lake Forest, Garage Door Opener Repair in Lake Forest, and Garage Door Installation in Lake Forest. Eight brands, one call: (877) 358-5495. Estimates are free. Learn more on the Creekside Garage Door Repair home page.
Written by the team at Creekside Garage Door Repair, serving Lake Forest since 2014.
See the difference
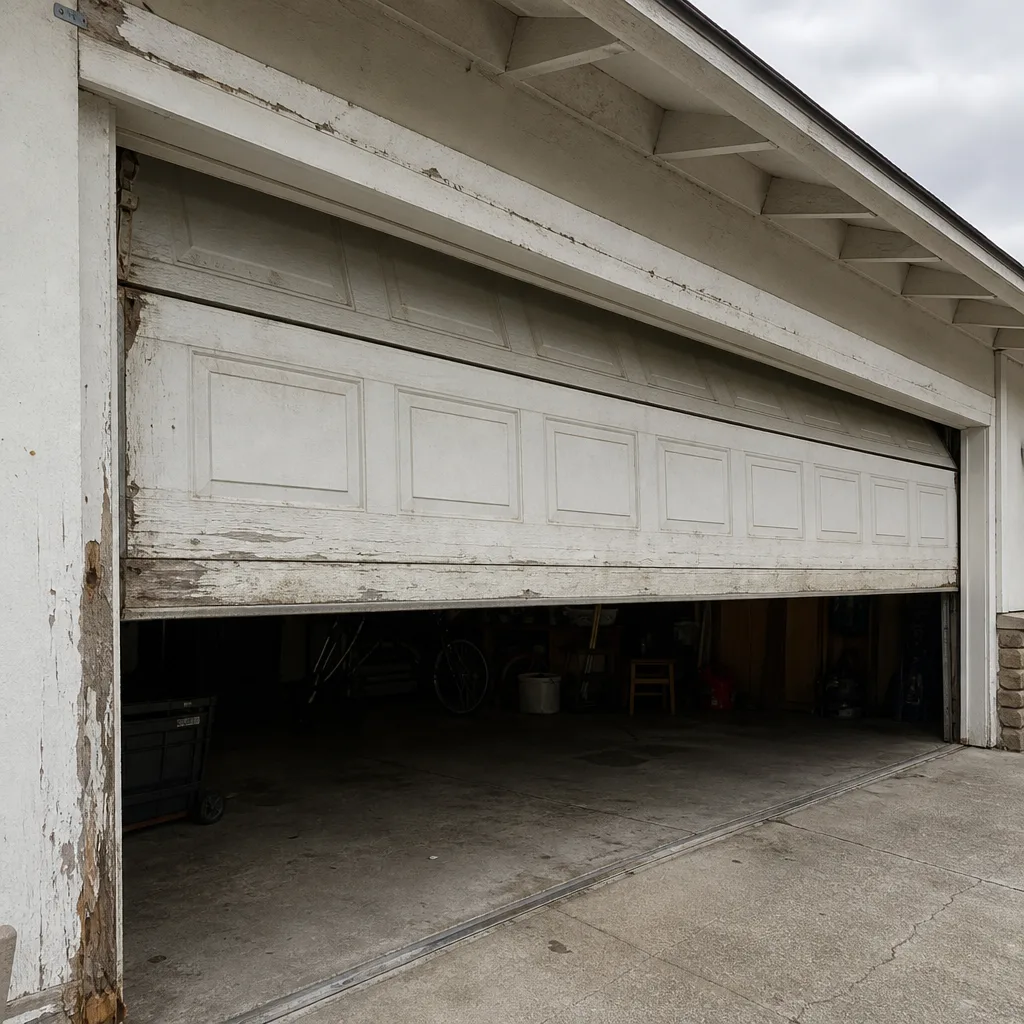 Before
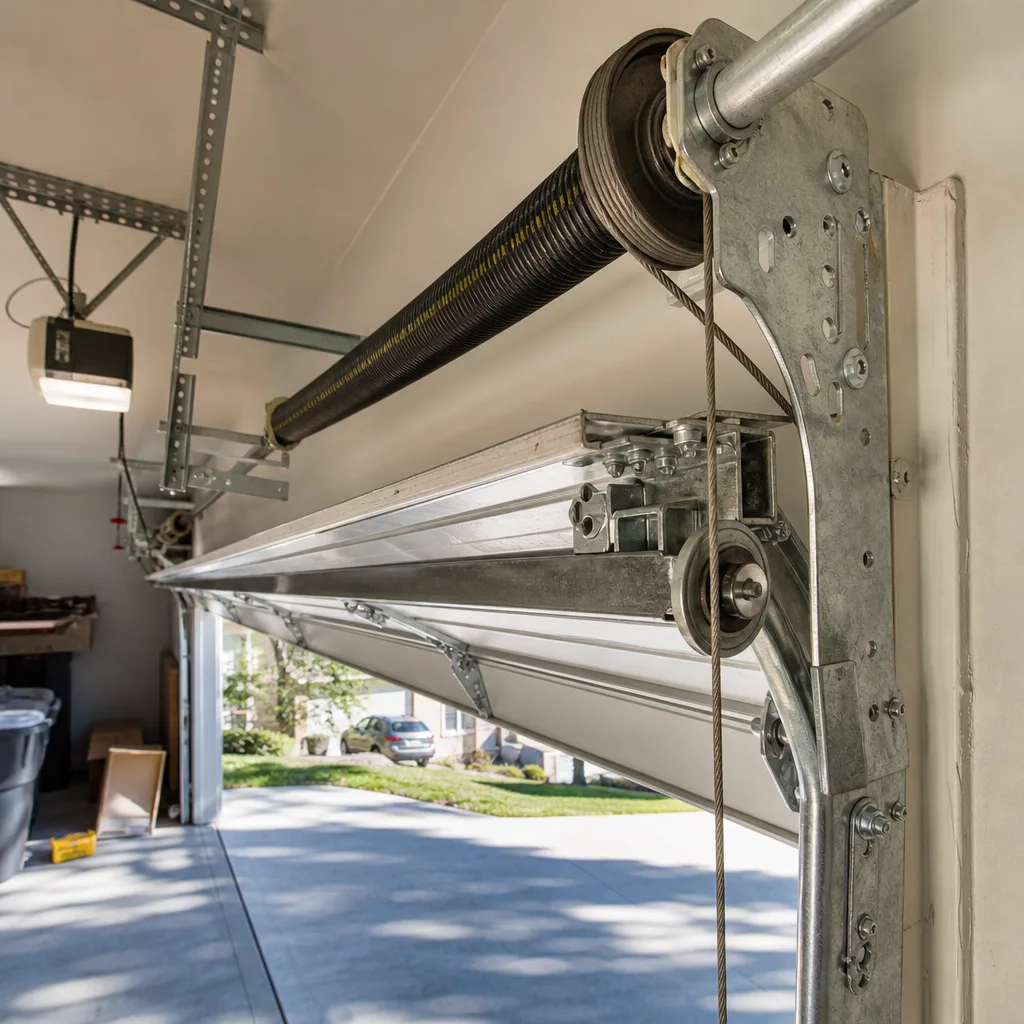 After
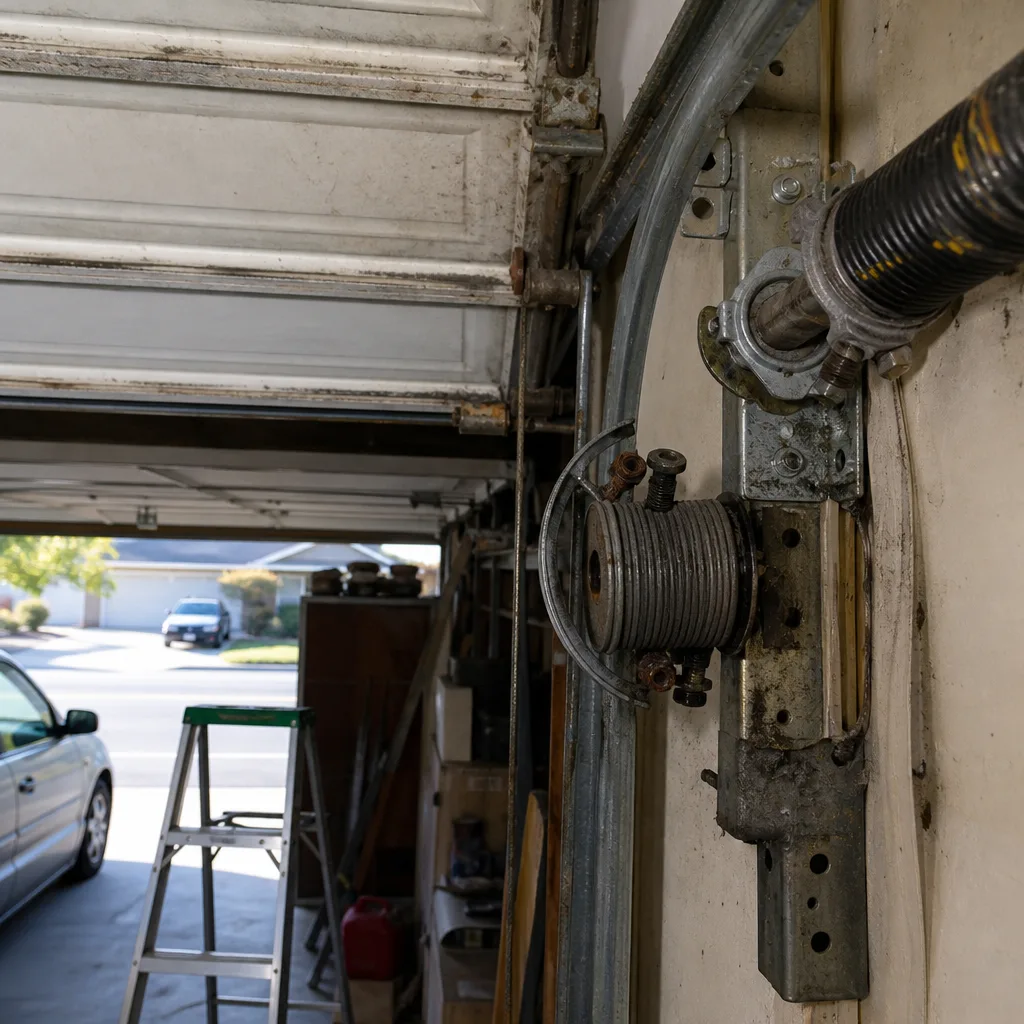 Before
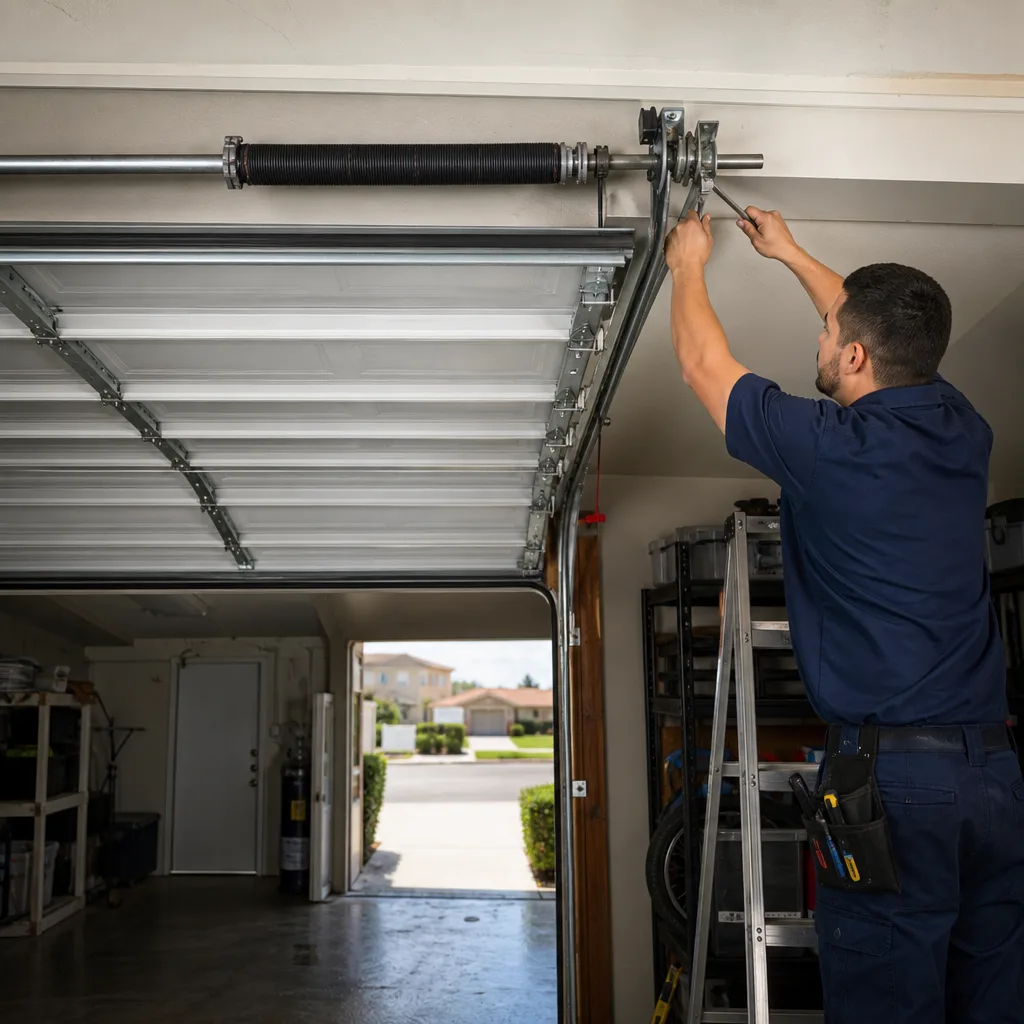 After
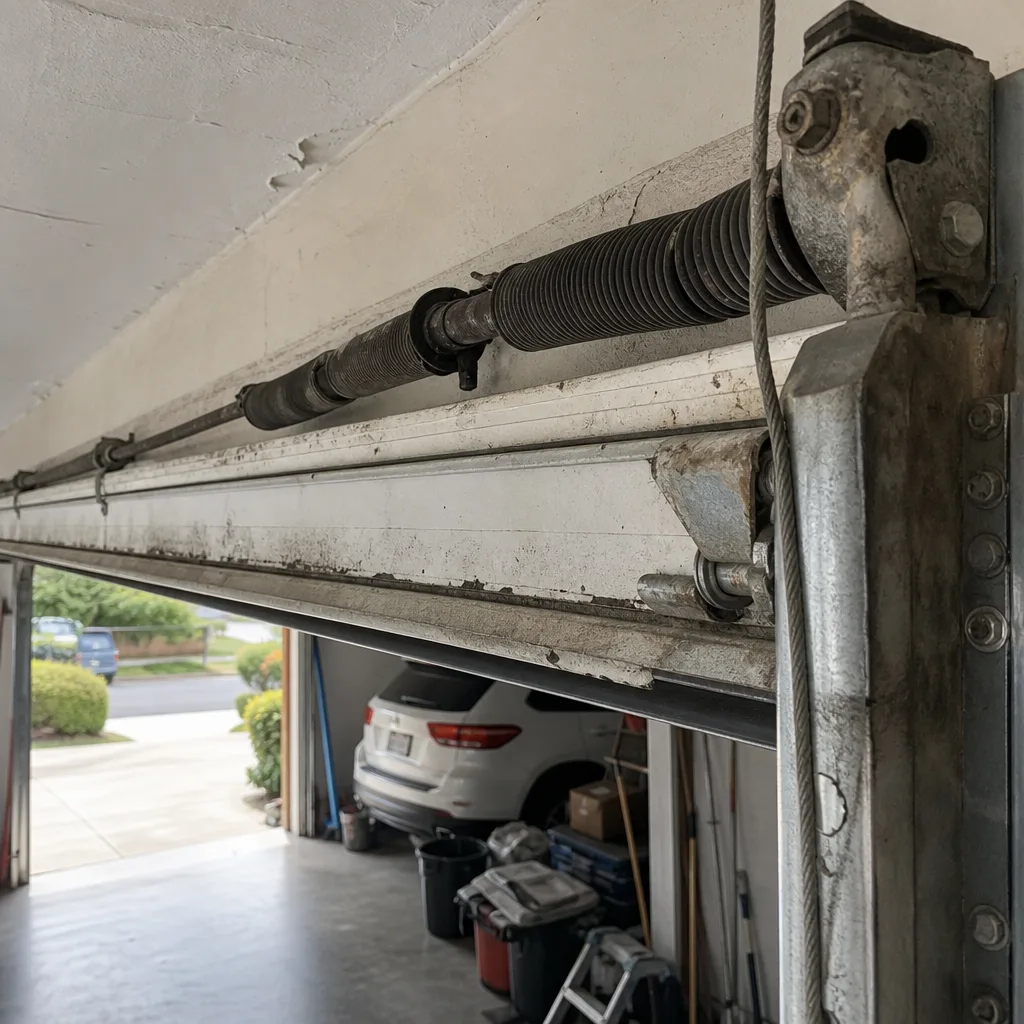 Before
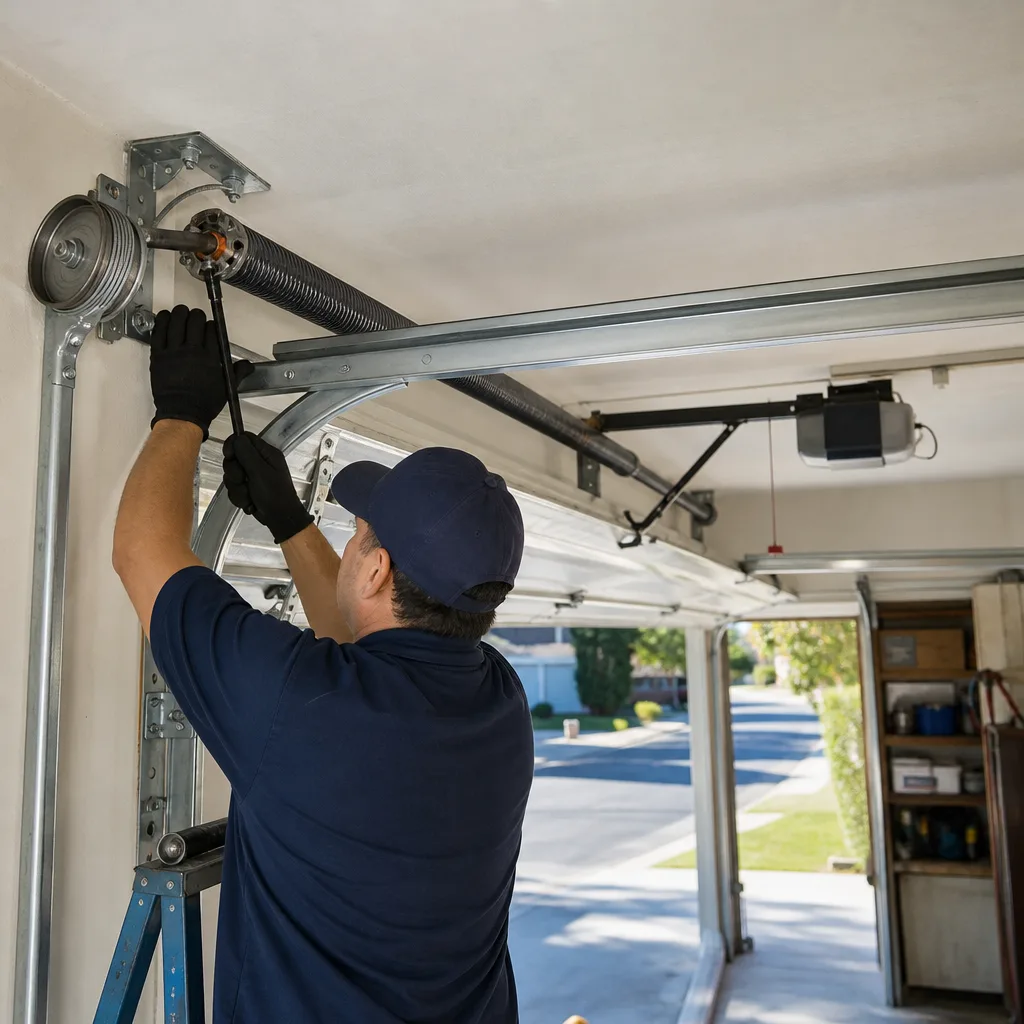 After